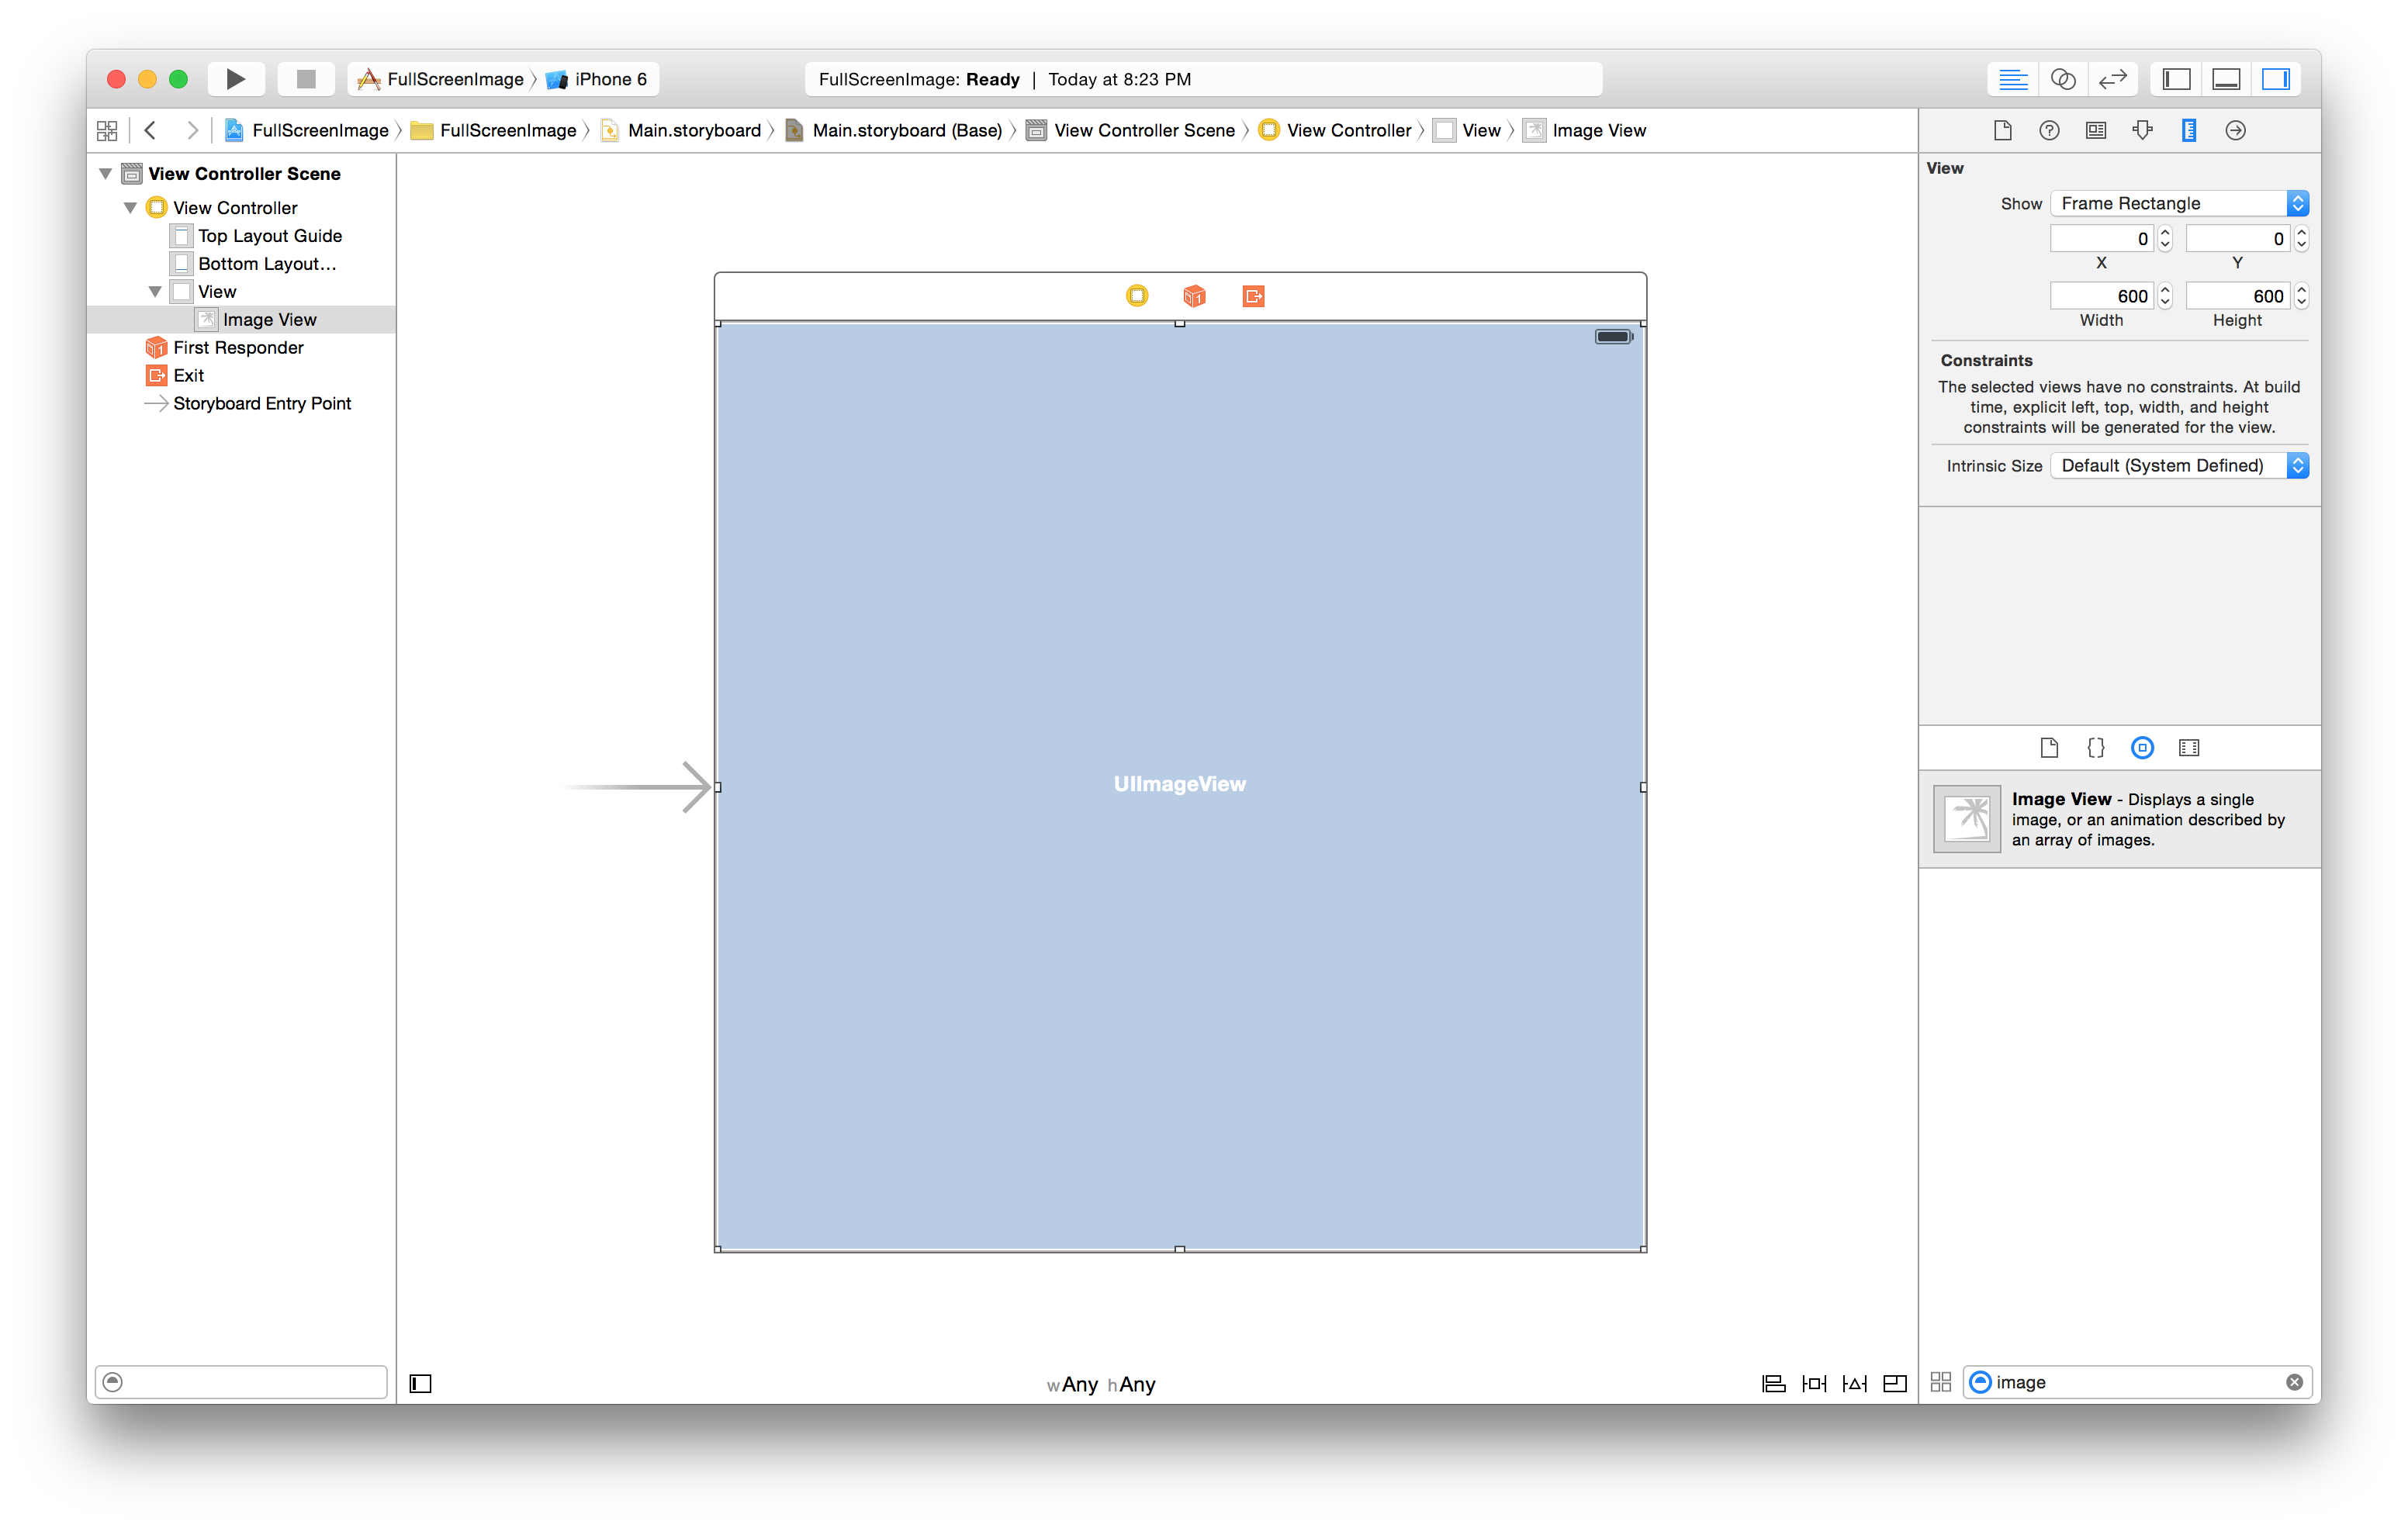
Let’s say you have an image view that fills the entire screen. The screen size varies by device, and therefore, so does your image view. So how do you display an image that fills the screen as much as possible without any clipping?
Start by dropping the image view onto your view.
Drag an image view from the Object library onto your view.
Add Auto Layout constraints to ensure that the image view fills the screen.
With your image view selected:
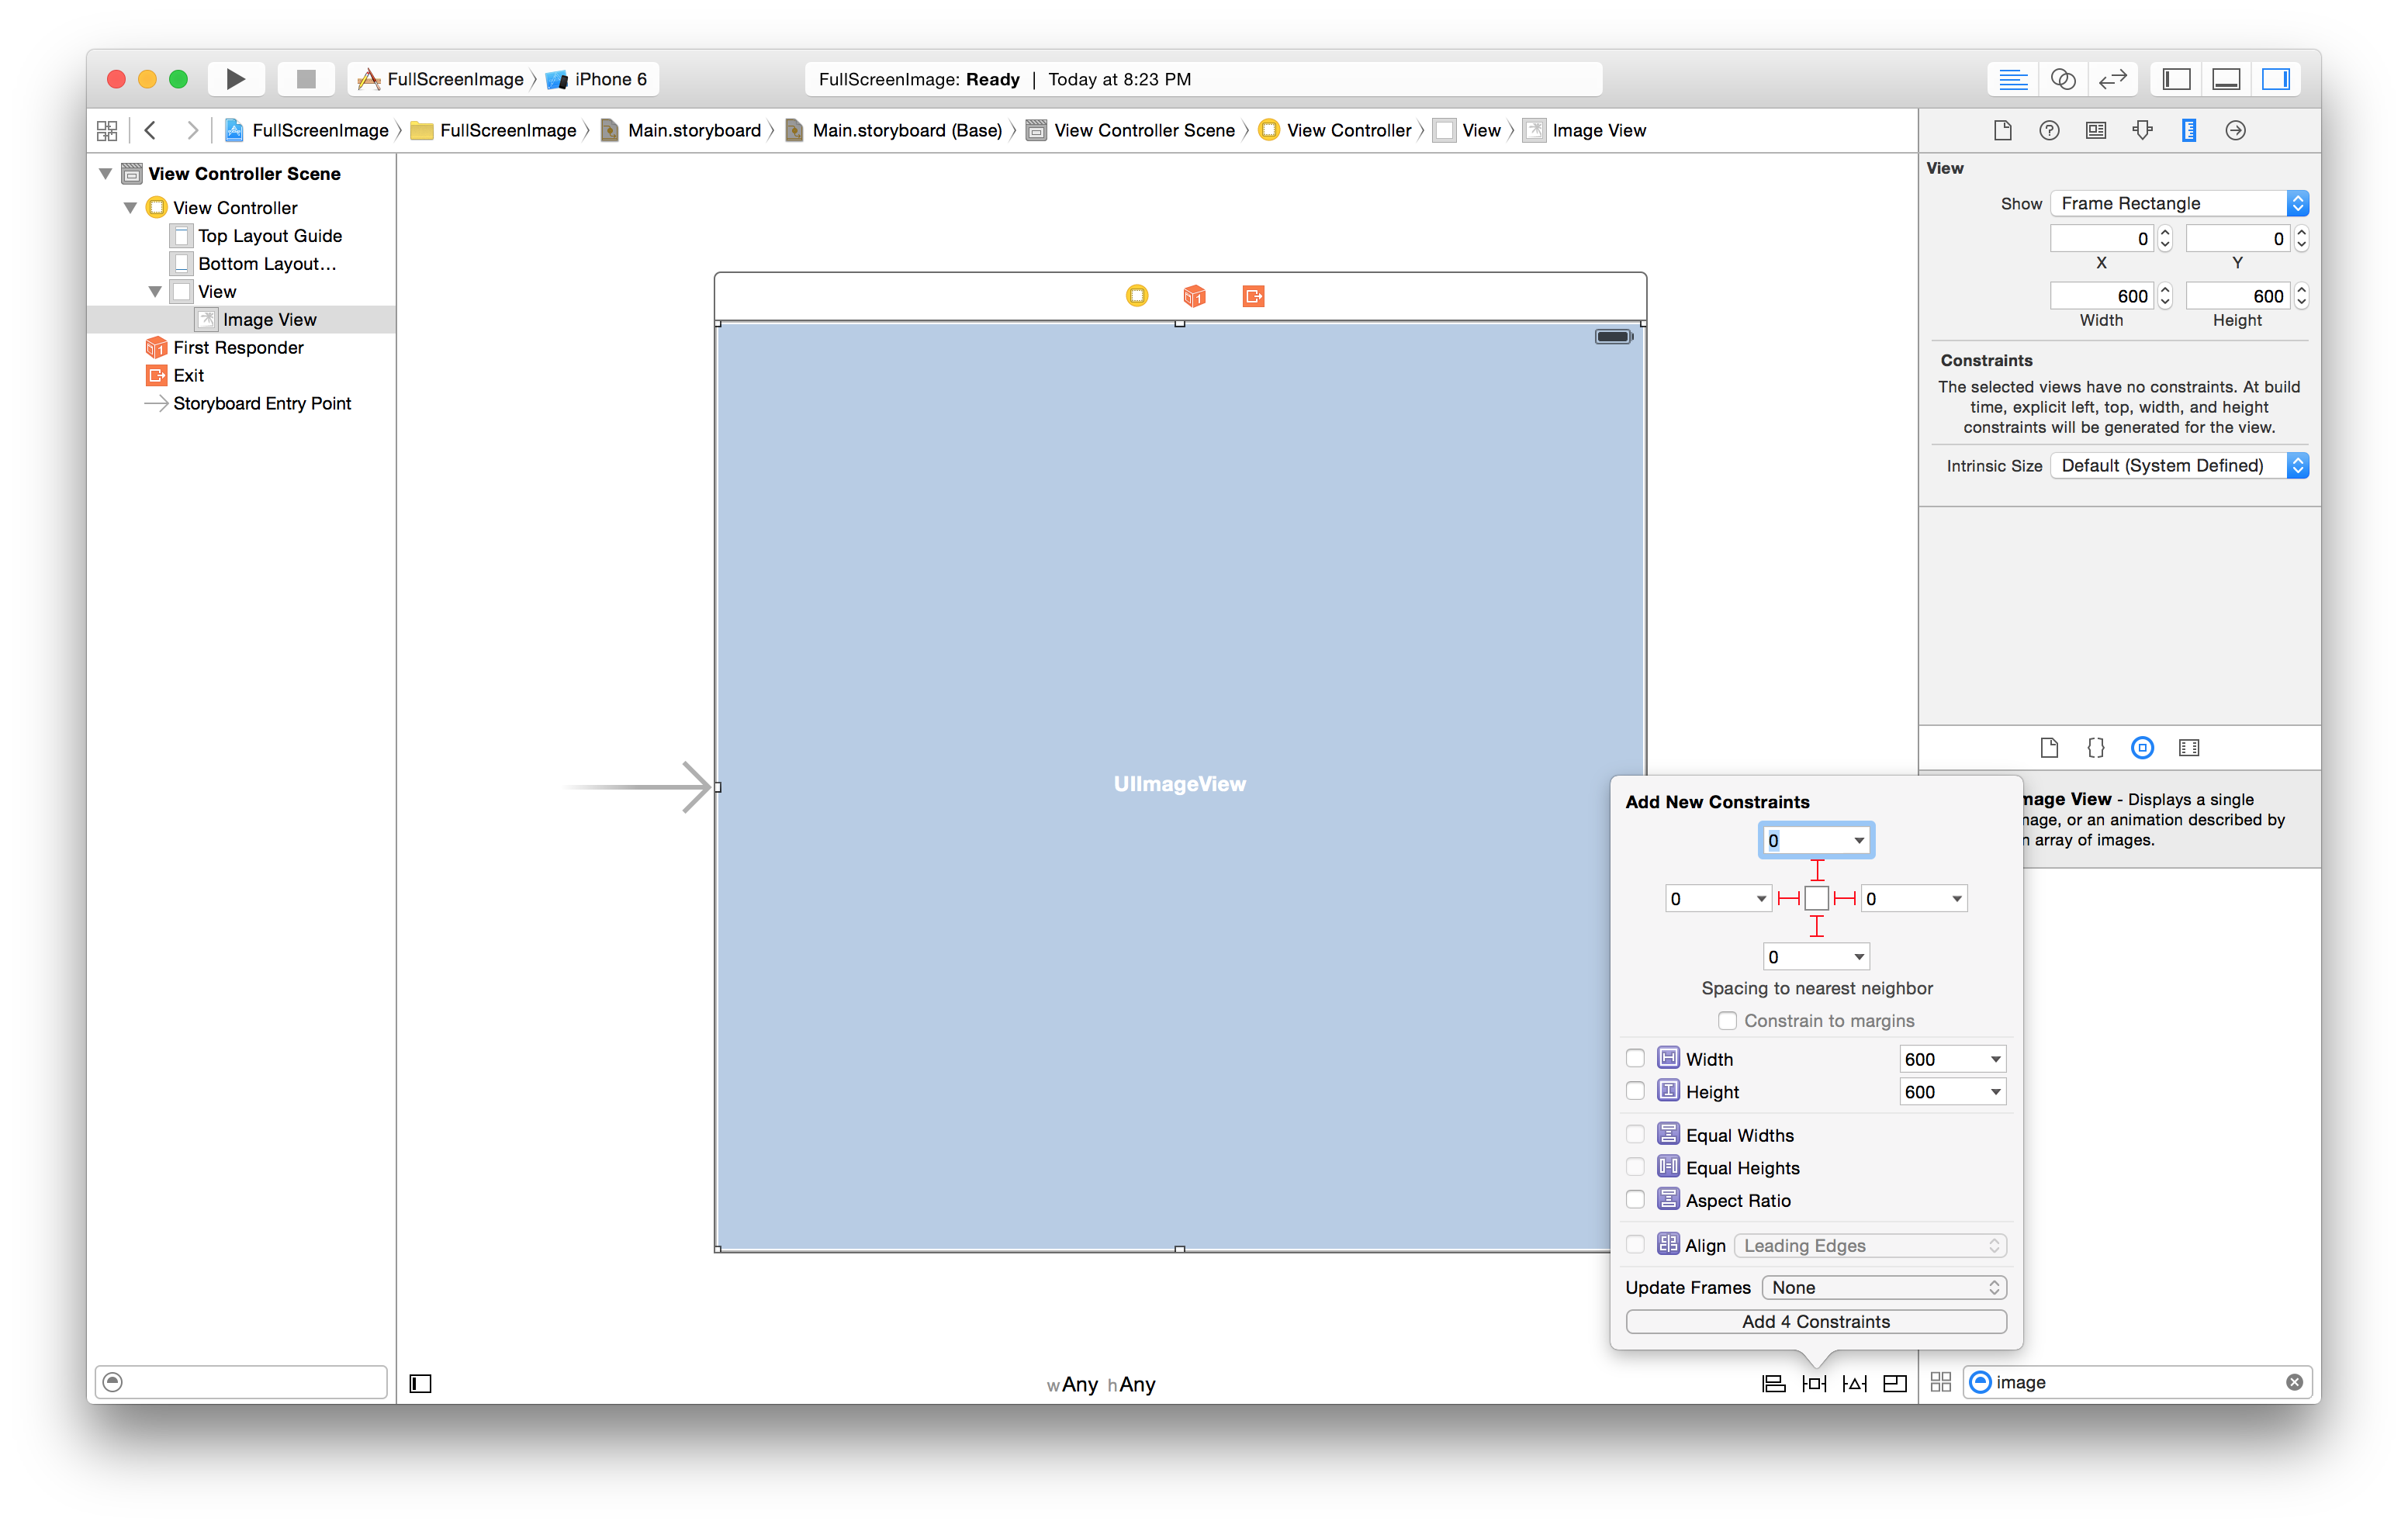
1. Click the pin button in the bottom right corner of Interface Builder
2. Uncheck Constrain to margins in the Add New Constraints dialog
3. Select each of the four red icons in the Add New Constraints dialog
4. Ensure that each of the four selected constraints is set to 0
5. Click the Add Constraints button to add the constraints
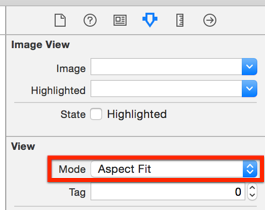
Select Aspect Fit for the View Mode on the image view
- Make sure your image view is selected
- Open the Attributes Inspector by clicking the fourth tab in the right panel
- Under the View section, in the Mode, select Aspect Fit
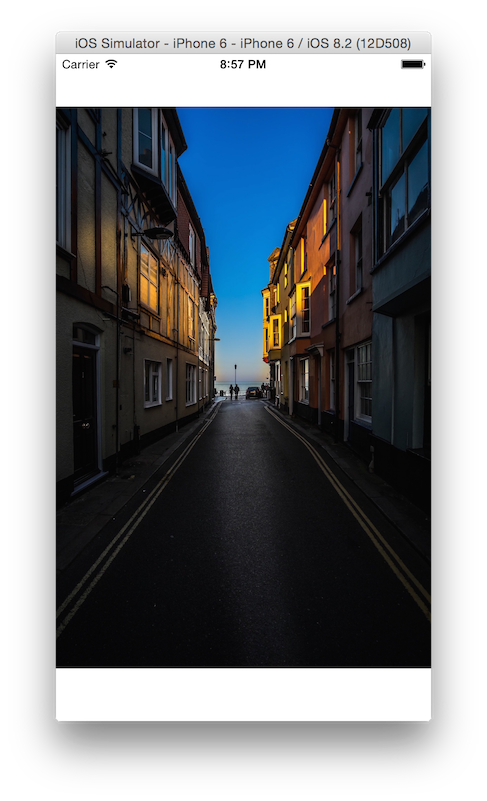
Add an image to the image view to make sure it works
And run your app! Whether you use an image that’s in portrait or landscape, the full image should appear in your image view without any of the image being clipped or stretched.
Get the sample code on GitHub. And if you want to use the same image in your app, here it is.
Want to keep learning Auto Layout?
I’m hosting a free workshop today (Thursday, March 26 at 1:00 PM Eastern) where you can learn how to lay out a screen full of text, buttons, and images. Be there live, or get the recording afterwards: